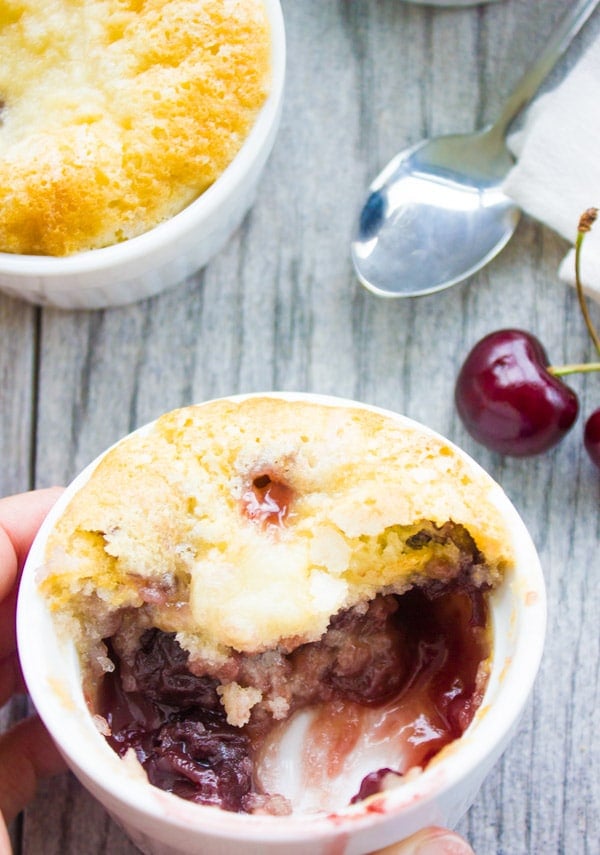
This easy cherry buckle is a no-fuss baked fruit dessert with soft, stewed cherries at the bottom and a fluffy cake layer on top! The perfect summer dessert for cherry season!
It’s cherry season, and that means we need a Sweet Cherry Buckle recipe. If you’re not a cherries person, go for blueberries, blackberries, raspberries, peaches..or a combo maybe?
You guys I love this cherry buckle so much that I bored my husband with it for so many years. It’s one of those no-brainer quick fruit desserts that you can pull up last minute for a crowd.
Now for the record, the hubby is not a fruit dessert person (unless he’s faced with no other option)— he’ll always look for anything chocolate, and when he gives up, he’ll go for the fruit dessert.
This simple cherry buckle recipe is made in a similar way to one of his favorites—those incredibly divine Mini Chocolate Pudding Cakes. A MUST TRY recipe for chocoholics 😉
Why this Cherry Buckle Recipe works:
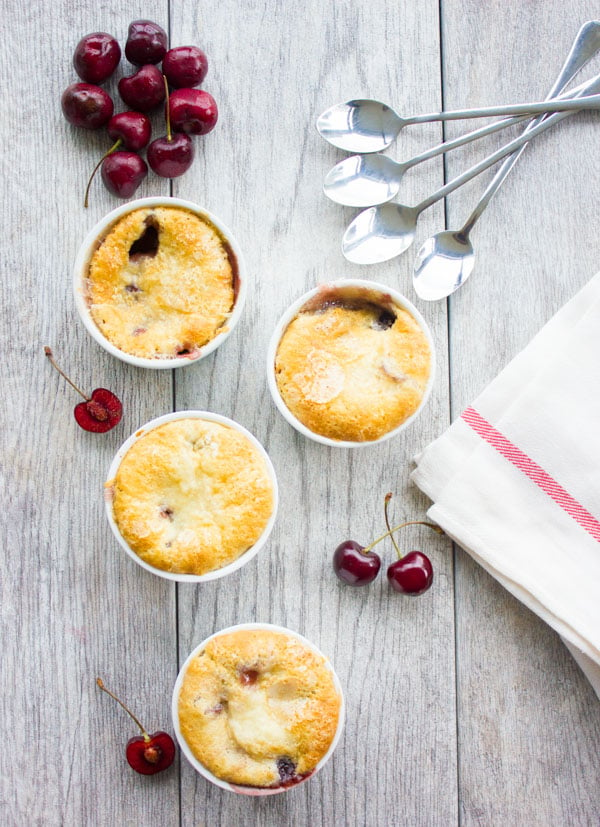
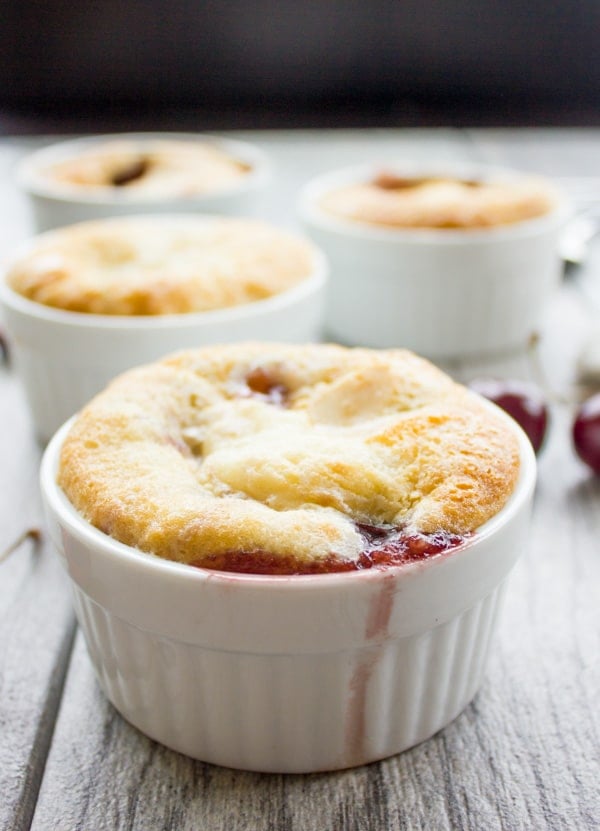
This cherry buckle is a sweet treat that comes together in one bowl with plenty of simmered fruit at the bottom. This easy summer dessert bakes into a fluffy cake-like pudding with a buckled top.
The cherry buckle is speckled with a bit of the fruit, while the remaining cherries stay at the bottom—sweet and juicy!
This is such a special recipe and dear to my heart as I got it from a dear old friend. My husband used to live in Miami and had a really sweet neighbor who used to often bake some treats and share them with him.
When we got married, she did the same for me. And she connected me to a few other of her baking friends from across the nation.
At that time, I was like in my early 20’s and the baking friends were a group of grandmas who spent their time baking and sharing their recipes online. I don’t know what it was that made absolutely fall in LOVE with that group.
It could be the LOVE for baking and sharing recipes, but mostly I was in LOVE with their kindness. They treated me like their little kid, they encouraged me, they helped me, they shared their knowledge generously.
In a way they reminded me of my mom—at the time my parents were in Vienna and I used to miss my mom terribly, and they always made me feel better.
I used to hang out with this wonderful group of ladies more than I did with my friends!
So one lovely lady J. used to live in Oregon handed me this Cherry Buckle recipe. It was like her go-to fruit dessert with friends and family and was a hit every single time. I tried it and loved it!
I made it at a few occasions and it was truly a HIT. The beauty of this cherry buckle is you can make it with any juicy fruit—any. Think a type of berry or a combo, peaches, mango, apricots and probably pears. The most important TIP here is to make sure the fruit is cut up into dice size pieces and the fruit has to be FROZEN.
Variations on this recipe:
If you use berries, make sure your berries are frozen. Strawberries are another great berry for the buckle, but I always cut them up and freeze the chunks.
Same with peaches, apricots, and mangoes. I personally don’t love the apples/pears version —just because there are so many great ways to use them up.
If you’ve got some apples and pears, I urge you to try this Pear Blueberry Vanilla Clafoutis, or these Apple Pie Stuffed Apples ( a light twist on apple pie).
For an even lighter, gluten-free apple dessert—try these Baked Apples with Granola Crunch. Oh and if you’re looking for a whole wheat treat—my absolute favorite Whole Wheat Apple Muffins will be your favorite too!
How to make this cherry buckle recipe:
Now back to this divine cherry buckle—it comes together in a blink and the photos below are best to show you that! Basically, a quick cake batter is made in a single bowl using just a whisk.
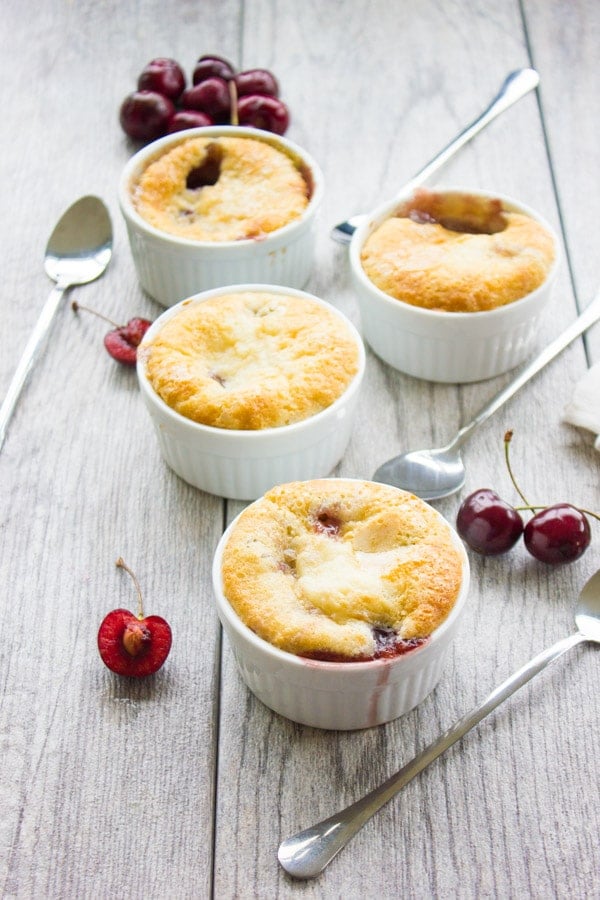
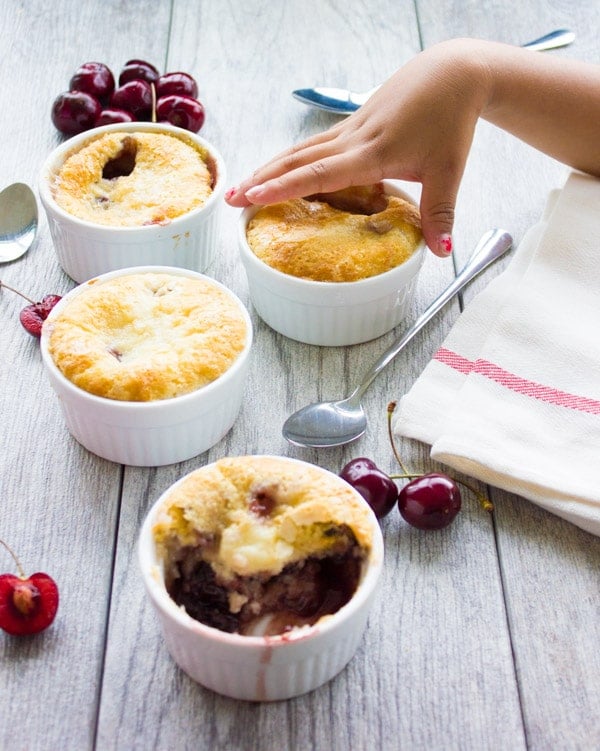
Take your ramekins—I love making this cherry buckle in individual ramekins like that rather than a large baking dish. I feel this way it bakes faster, and it’s portioned and ready to serve.
Plus whatever is leftover remains in shape and in the fridge for up to 4 days. However, you can always make the buckle into a large baking dish and cut it up during serving.
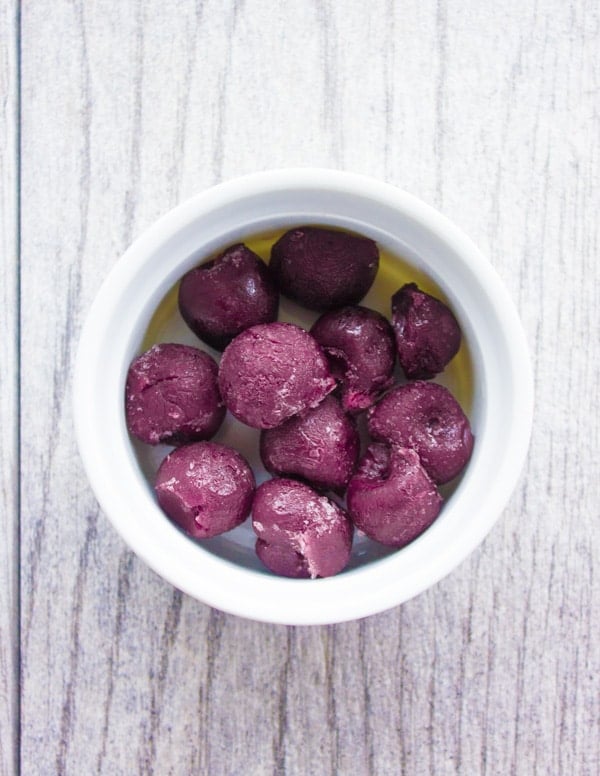
So you’ll scatter the frozen berries at the bottom of the ramekins and pour the batter evenly over the berries.
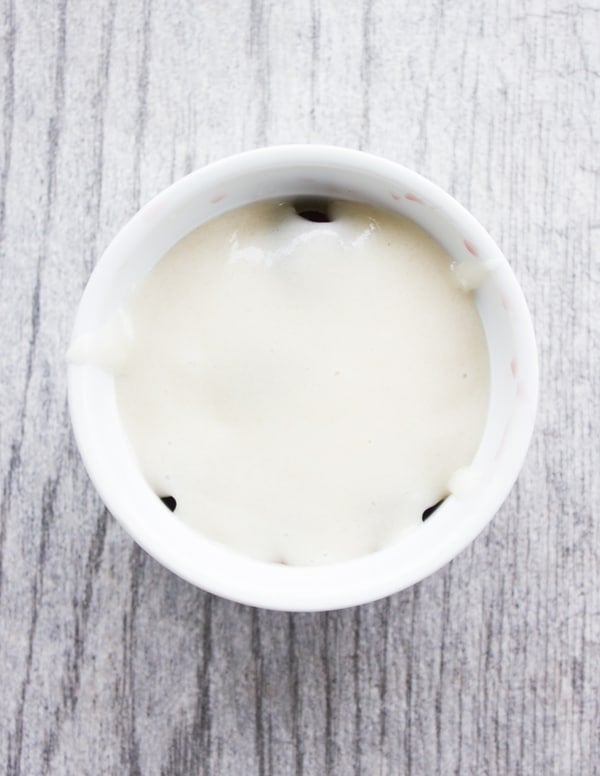
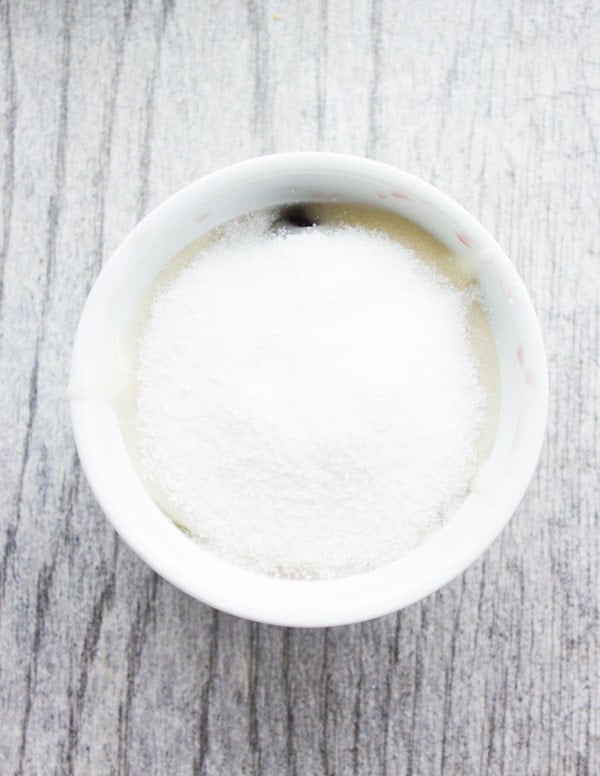
Then you’ll sprinkle a mix of sugar and cornstarch over the batter evenly among the ramekins—making sure not to mix the layers.
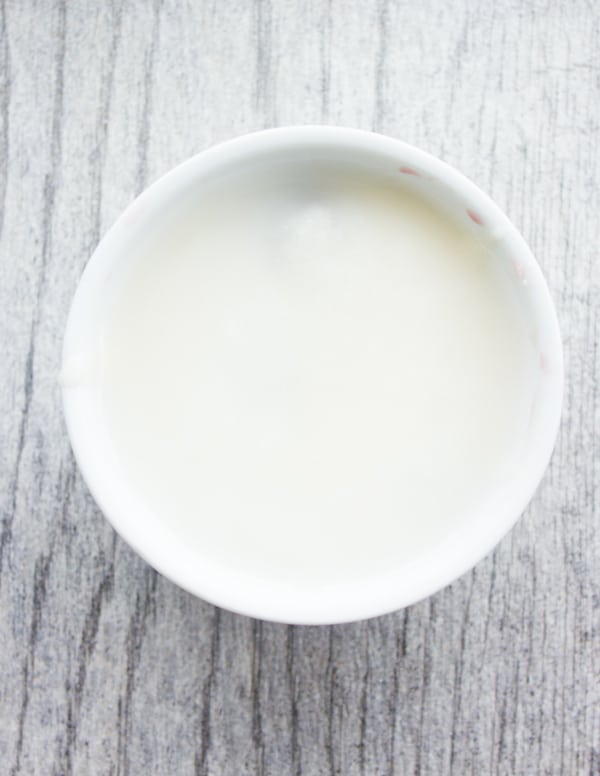
And finally, you’ll pour hot water over the starch-sugar mixture, again making sure not to mix the layers.
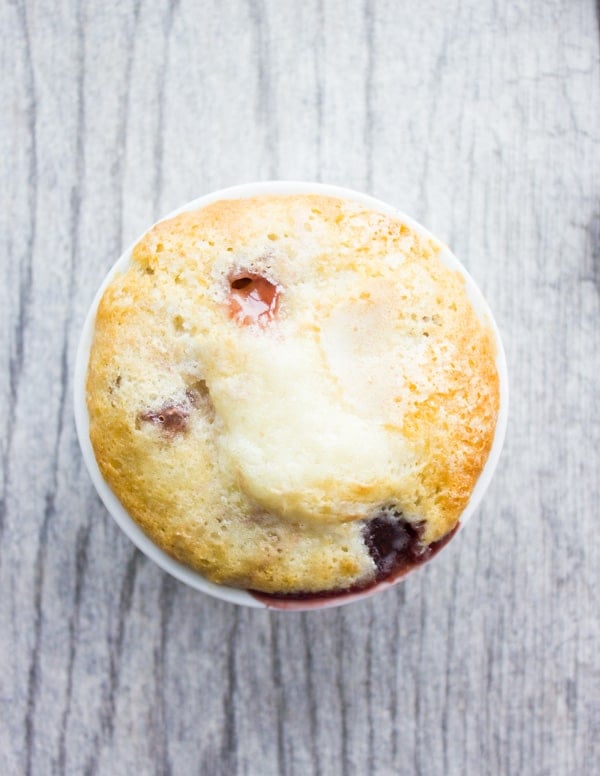
Then the buckle bakes into a divine fruity moist cake-y dessert with a delicate buckle like topping! 🙂 Now make it and enjoy! 🙂
Tips for success:
- The beauty of this cherry buckle is you can make it with any juicy fruit—any. Think a type of berry or a combo, peaches, mango, apricots and probably pears.
- The most important thing is to make sure the fruit is cut up into dice size pieces and the fruit has to be FROZEN. This tip makes sure the cherries will hold their shape once the cherry buckle is baked.
- I like using individual ramekins but you can always make the buckle into a large baking dish and cut it up during serving.

Sweet Cherry Buckle
This easy cherry buckle is a no-fuss baked fruit dessert with soft, stewed cherries at the bottom and a fluffy cake layer on top! The perfect summer dessert for cherry season!
Ingredients
- 16 oz frozen cherries 1 x 16 oz bag
For the cake
- 3 tablespoons melted butter ( or coconut oil if Vegan)
- 1/2 cup granulated sugar
- 1/2 cup milk ( Can use Soy or Almond Milk if Vegan)
- 1 cup all-purpose flour
- 1/4 teaspoon salt
- 1 teaspoon baking powder
For the topping
- 1/2 cup white sugar
- 1 tablespoon cornstarch
- 3/4 cup boiled hot water
Instructions
-
Place the frozen cherries into a 8 ramekins or a 9 inch baking pan.
-
Make the cake by mixing the dry ingredients into a bowl (flour, baking powder, sugar and salt). Use a whisk and mix them, then add in the milk and melted butter, and whisk again.
-
Spoon the batter mixture over the top of the berries evenly and spread with the spoon but it won't cover completely.
-
Next mix the topping together in a bowl until the cornstarch is completely combined and no lumps are left.
-
Sprinkle this mixture evenly over the top of the batter among the ramekins, and do not mix in.
-
Next, pour the water over the top of everything and again, do not mix the layers.
-
Bake in a 375-degree oven for 25 minutes until the buckle is puffed and slightly golden. For the 9-inch baking pan, the buckle bakes for 1 hour. Serve and Enjoy! 🙂
Recipe Notes
- The beauty of this cherry buckle is you can make it with any juicy fruit—any. Think a type of berry or a combo, peaches, mango, apricots and probably pears.
- The most important thing is to make sure the fruit is cut up into dice size pieces and the fruit has to be FROZEN.
- I like using individual ramekins but you can always make the buckle into a large baking dish and cut it up during serving.




That looks heavenly l. Pass me the custard and a spoon!
This isn’t a buckle. Buckles have a crumb topping/streusel. Without it, it is just some cake.
Hi Helen, I got this recipe from an old neighbour as you’ve probably read in the post and that’s exactly how she named and how she made it. I haven’t changed a thing! It’s delicious and I hope you try it even if you call it cake 🙂
I love using ramekins and I think it’s so appealing for me to do this ..
I just would like to ask if I can make it with cherry jam….????
How much water do you spoon over the top?
Hi Laura, divide the amount of water evenly over the ramekins–about 1.5 Tablespoons on each.
Yaay Christine–you can’t miss this one!!