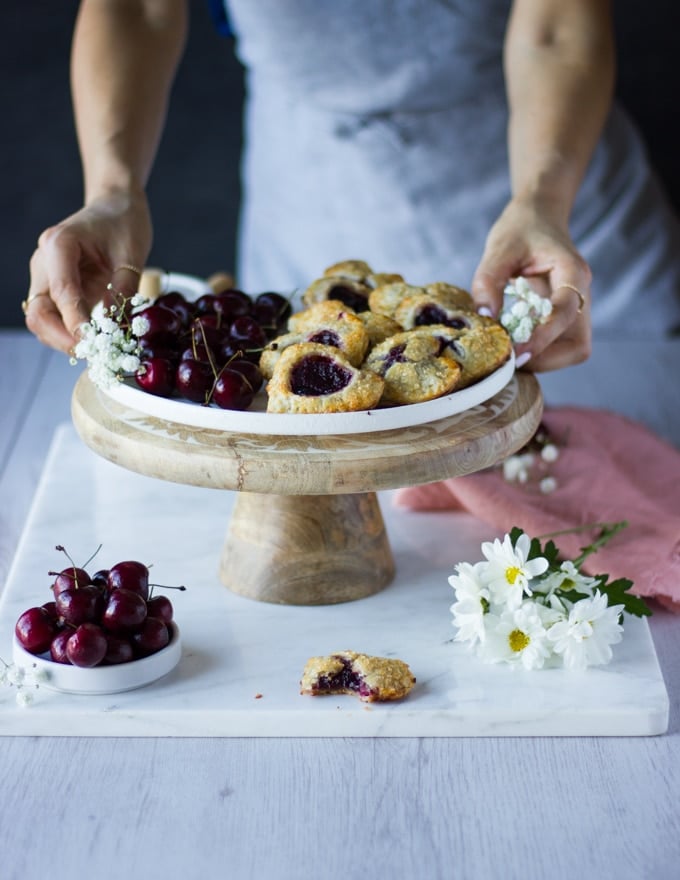
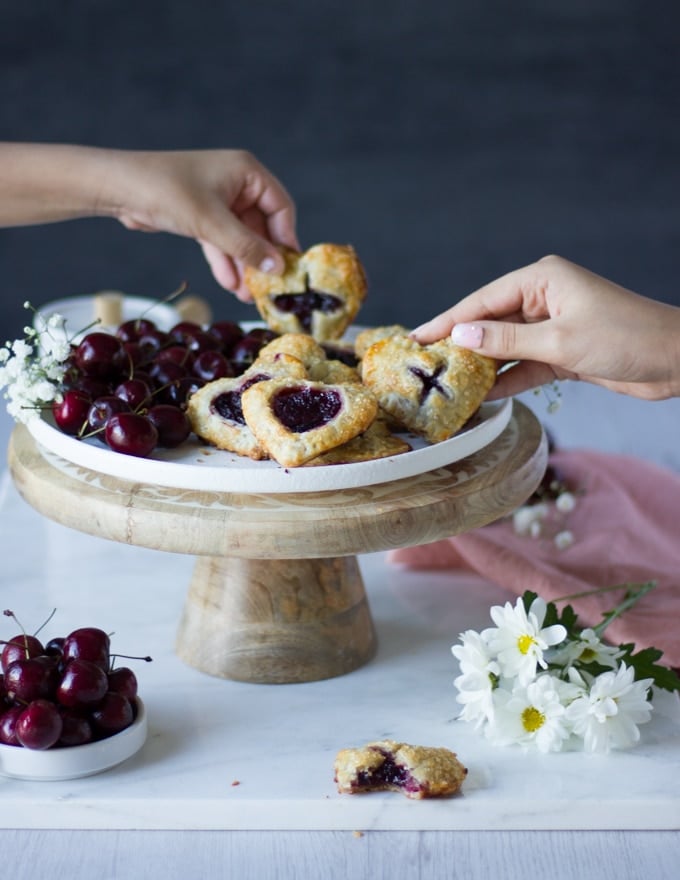
This Mini Cherry Pie is one of my favorite pies! It’s a sweet cherry pie made into mini size for fun and made with cherry pie filling from scratch. Video included!
SWEET CHERRY PIE
Cherry season makes me think of cherry pie. Always. And while today I’ve used frozen sweet cherries for my cherry pie recipe, I know fresh cherries work just as well.
The trick to the sweet cherries is in the filling and I have more on that below. I find frozen cherries to be super sweet and for that I prefer them for the filling.
For this recipe and almost every pie or tart recipe, I’ll use my easy flakey pie dough. That pie crust is TRULY fool proof and super flakey.
You can for the record use store bought crust like Pillsbury pie dough or even puff pastry. I will say that my pie crust is super flakey and easy to pull off so consider trying it.
If you ask me, I’ll take a mini cherry pie over a huge pie anytime!
MINI CHERRY PIE
I love mini pies. Love them! And here’s why:
- They cook much faster.
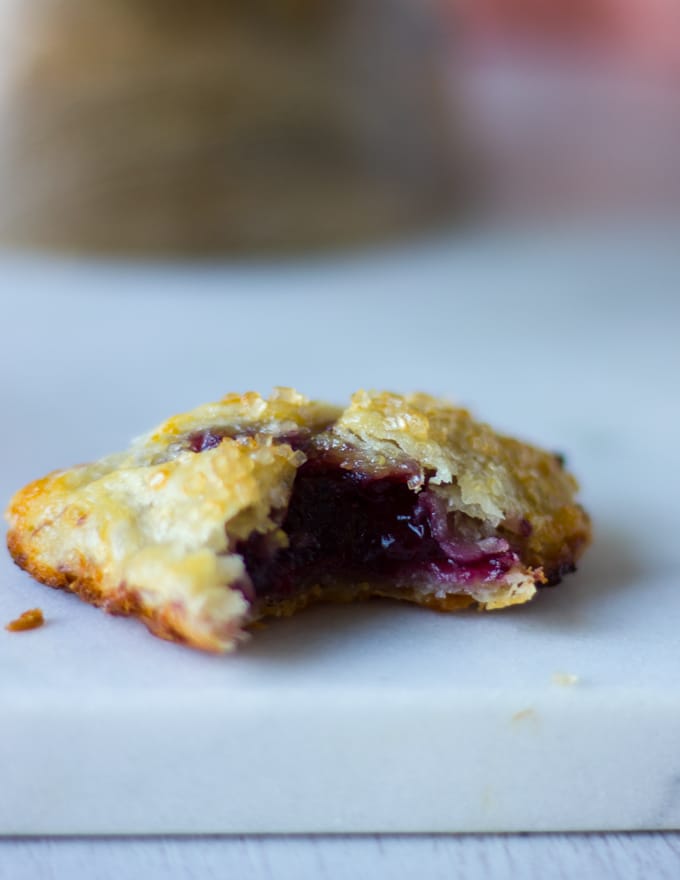
- Mini cherry pies are super crispy and flakey, never soggy!
- They’re easier to bake.
- Mini pies freeze beautifully!
- Also they defrost in a snap.
- You can cut them in different shapes and sizes.
- They have the right amount of filling to crust ratio.
- Easier to serve and less mess, so less cleanup!
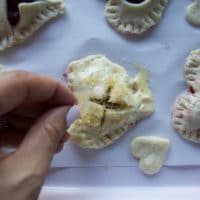
Now these mini cherry pies today were cut out into hearts because the kids were home and wanted to make them for fun. I’ve made them into rounds and it’s exactly the same technique except different shapes. Stars would be so fun too!
Now once you’ve got the crust ready and figured out, you’ll move on to the filling.
CHERRY PIE FILLING
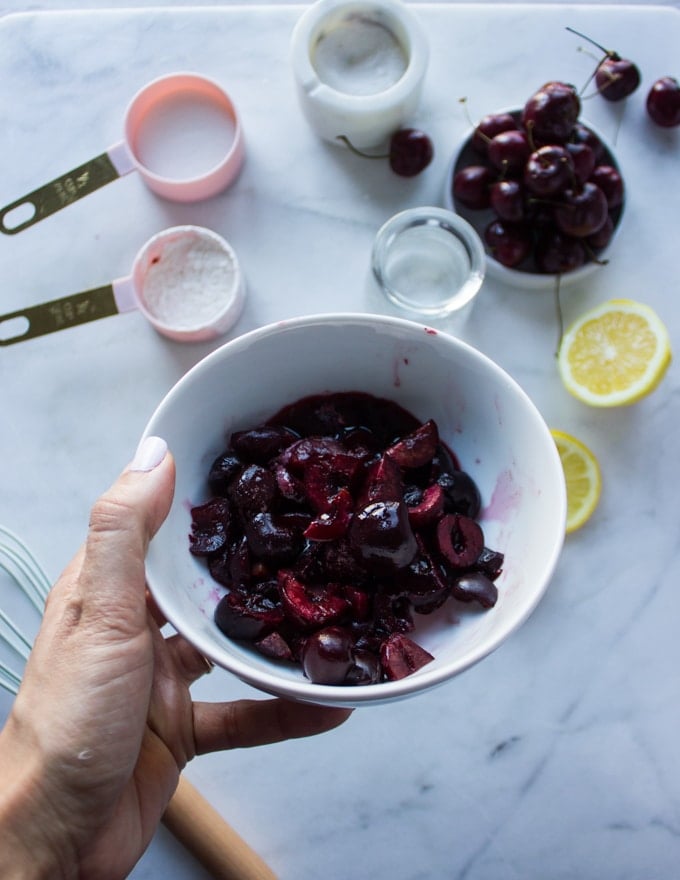
As i mentioned I love frozen cherries here, however feel free to use fresh sweet cherries. Make sure to pit them!
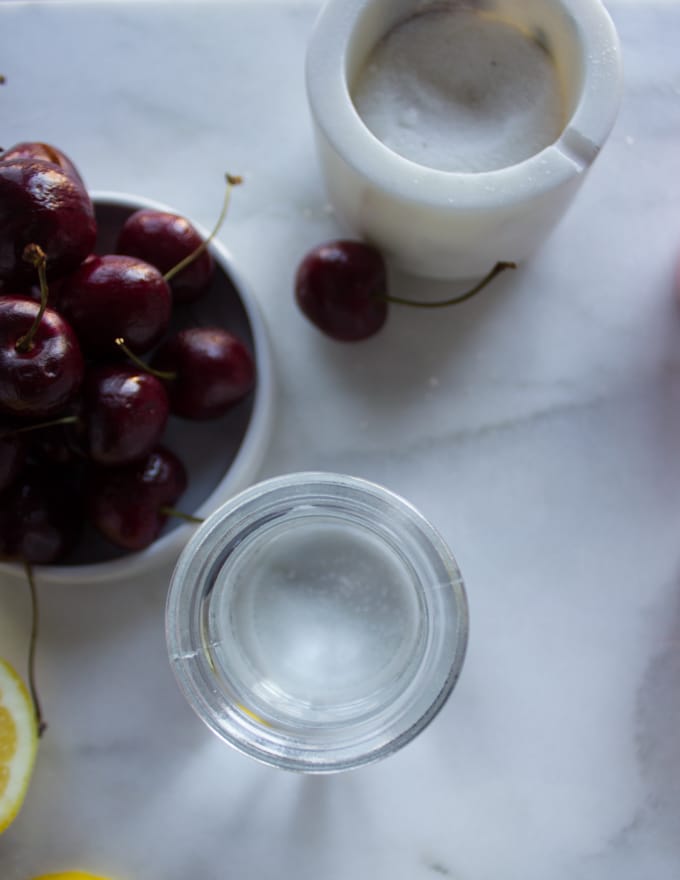
Ingredients for Cherry Pie Filling:
- Frozen cherries
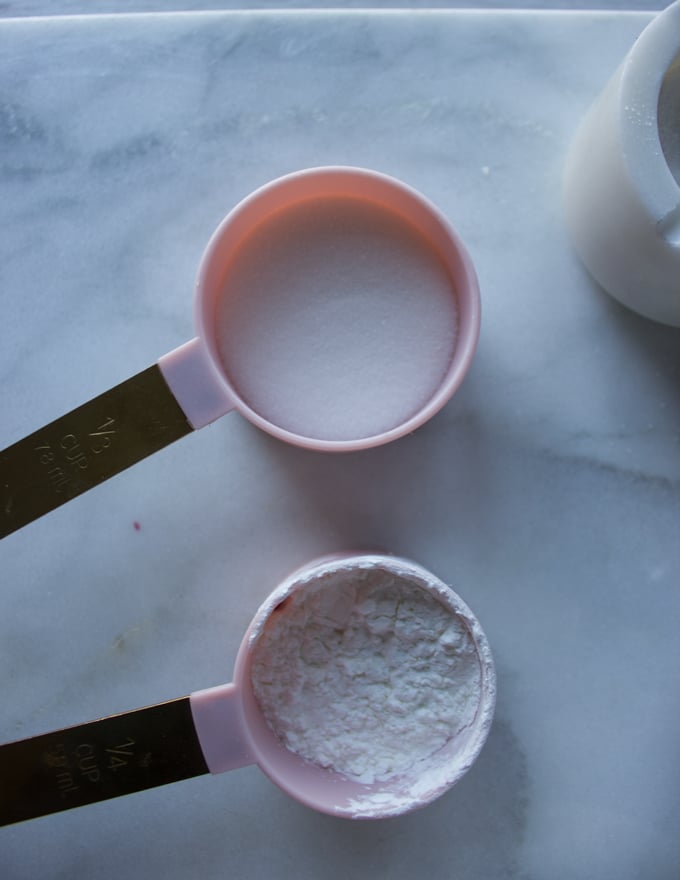
- Sugar
- Cornstarch
- Lemon Juice
- Water
Now why would you buy that canned stuff? Simple ingredients make the best cherry pie filling!
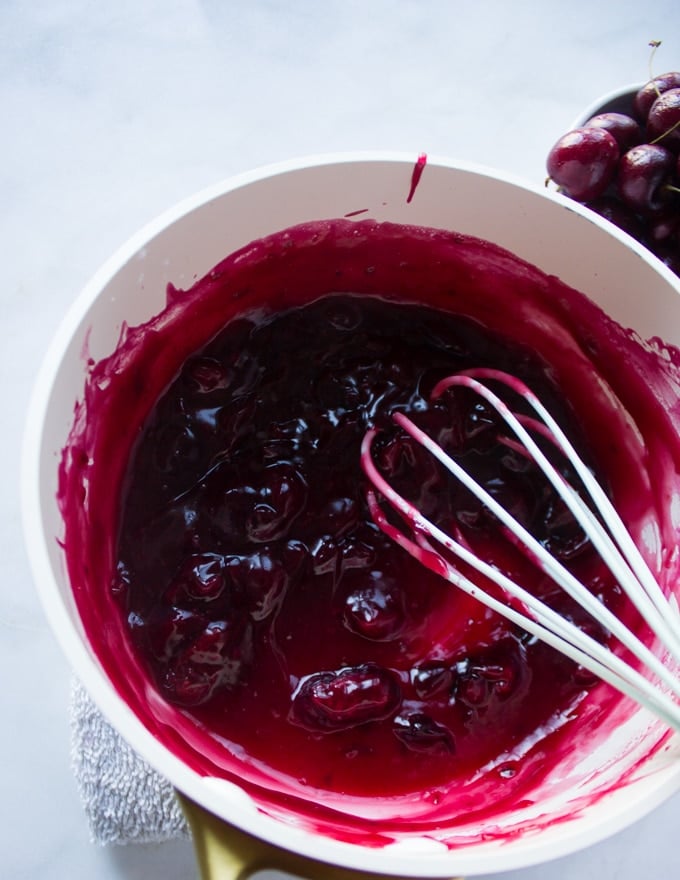
The trick to making cherry pie filling is to make sure your water is cold, and to add everything in the same pot before turning on the heat.
When you do that, you help the cornstarch dissolve fully into the cherry mixture without lumps.
Lemon juice adds a contrast of taste and also helps keep the vibrant red color of the cherries.
Sugar is certainly up to your taste, I do however like to sweeten my filling since my pie crust isn’t sweetened at all.
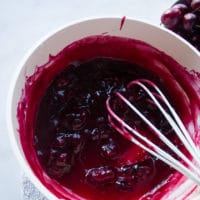
To make the cherry pie filling simply cook all ingredients together in a pot and bring that a low boil. Let it simmer for just two minutes and it’s ready to use.
You’ll need to make sure to chill the filing before using it so it doesn’t ruin the cold pastry. Another trick is to cover the surface of the cherry filling with a plastic wrap.
Make sure the wrap sticks well over the surface of the filling. This prevents any skin from forming at the surface. I love using this trick with many dips, sauces, custards and more!
MAKE CHERRY PIE RECIPE
Once everything is chilled and ready, you’ll start by preheating your oven.
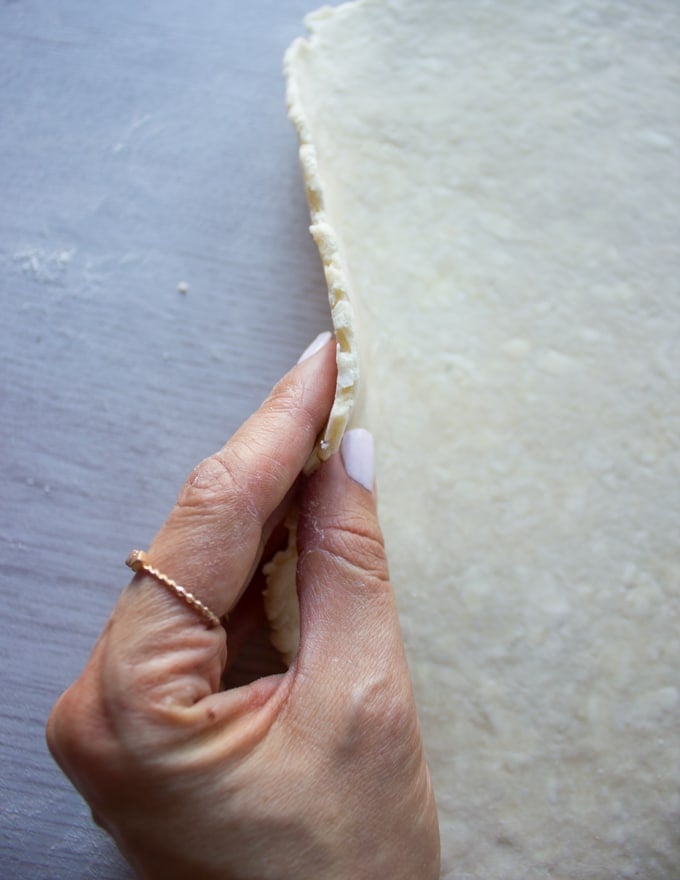
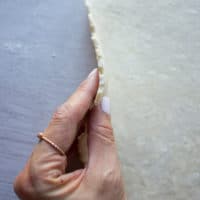
Roll out your crust to the thickness shown above—about 1/8th of an inch thick.
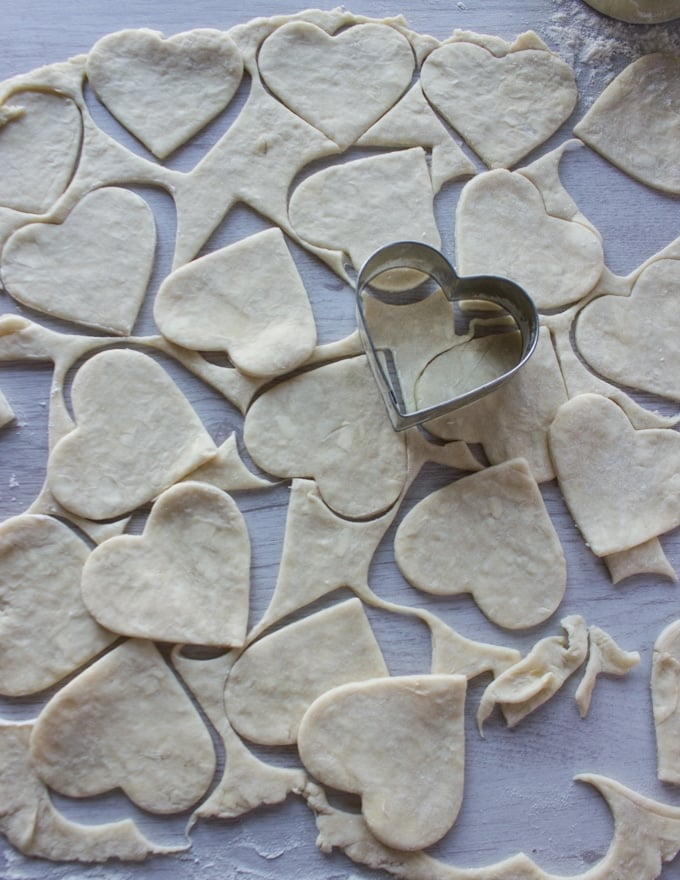
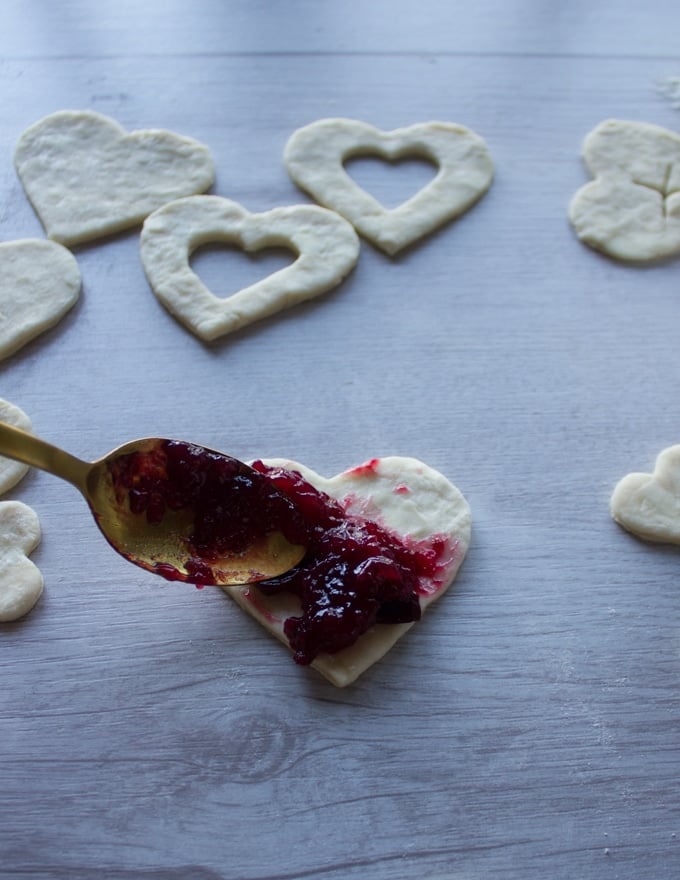
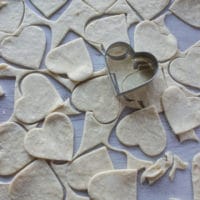
Use the cookie cutter of your choice and cut out the dough entirely.
Now you’ll need to divide the cut out shapes of dough into two. One part will be the base or bottom of the cherry pie while the other half will be the tops.
Top of the pie will need some kind of slit to release steam as the filling will be bubbling in the oven, so for that you can do this two ways.
Either cut out a smaller shape using a smaller cookie cutter in the top crusts, or use a knife to cut out slits on the dough.
Put a teaspoon and half of filing over the bottom crust.
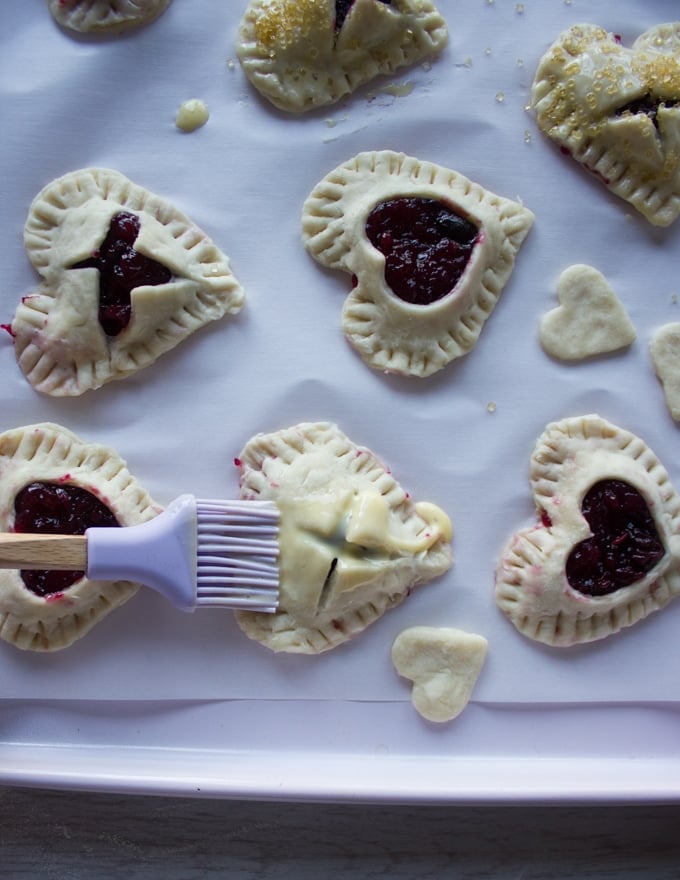
Cover that with a top crust and seal the edges well using a fork.
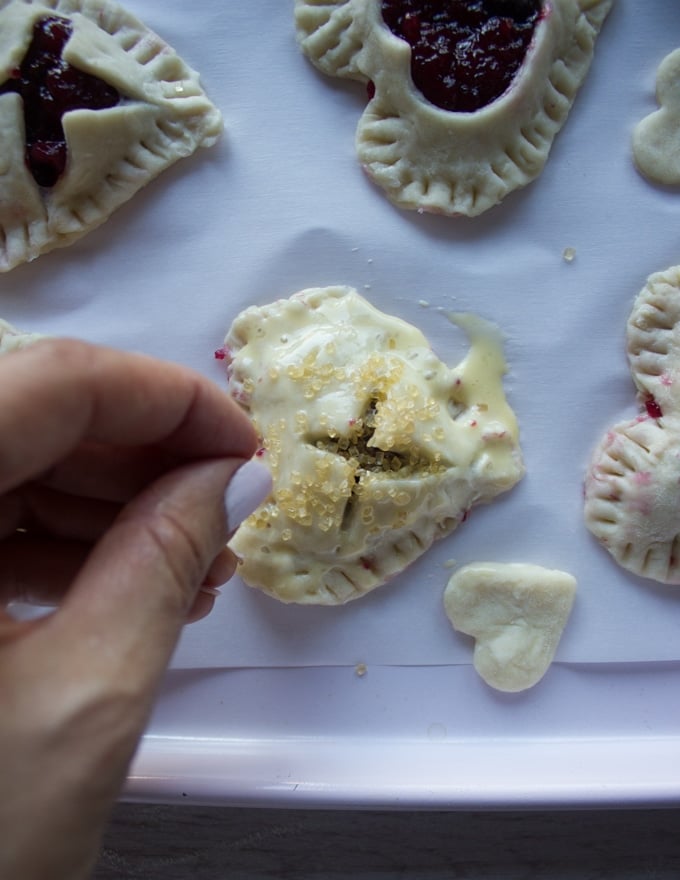
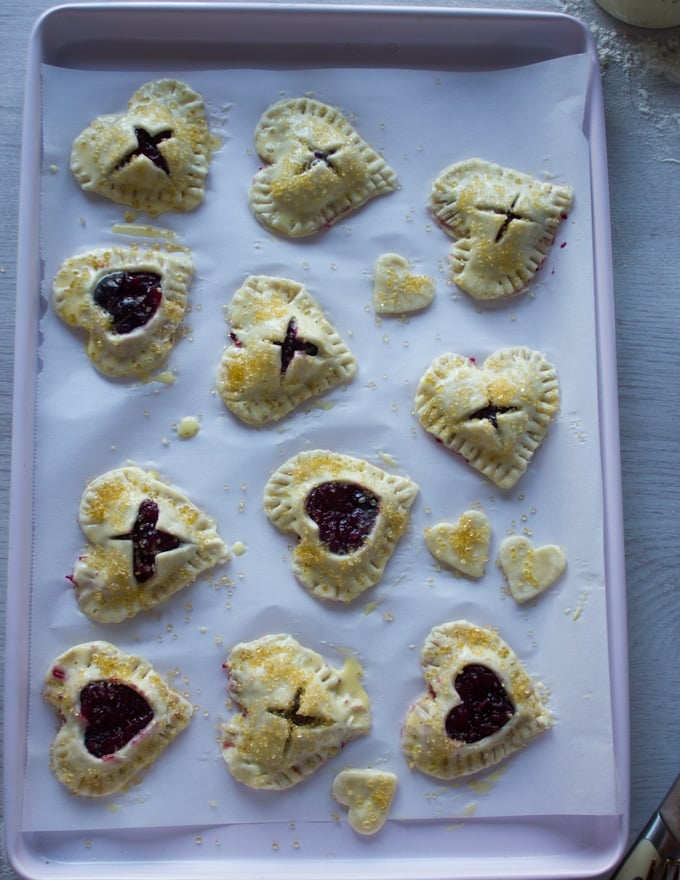
Brush the tops with an egg and cream wash, and sprinkle coarse sugar for an extra crunch. This is definitely optional and if you want to use regular sugar, you also can do that.
Bake the sweet cherry pie for just 15-18 minutes until they’re golden crispy ready!
Let the pies cool for 10 minutes and enjoy!!
CHERRY PIE TIPS
- Use a good crust for the pies, give this fool proof pie crust a try! Store bought crust works as well.
- Chill the crust while you prepare the filling.
- Frozen cherries are sweet and perfect for the cherry pie filing, however feel free to use fresh cherries if they’re sweet and in season.
- Make sure to use cold water for cooking the filling because thats the best way to dissolve the cornstarch without any lumps.
- Lemon juice keeps the cherries bright and red.
- Cook the filling until it starts to bubble and continue simmering it on low for just a couple of minutes.
- The filling needs to be chilled well before using it over the crust, otherwise it will melt the butter and ruin the pastry.
- To avoid a skin layer over the surface of the filling, make sure to stick the plastic wrap directly over the surface of the cherries before chilling them.
- Don’t over fill the cherry pies! It’s so tempting to load the pie curst with filling but that just simply means any excess will ooze out!
- Seal the edges of the mini cherry pies with a fork.
- An egg wash with cream is perfect for the cherry pies and the final sprinkle of sugar adds an extra crunch and sweetness to the crust.
- These pies will keep on the counter wrapped for up to 5 days.
- Otherwise, you can also freeze them baked for 6 months and defrost them over the counter.
CHERRY RECIPES
Easy Mini Black Forest Cupcakes
Banana Berry Avocado Chia Smoothie

Mini Cherry Pie
Ingredients
Pie Crust:
- Easy Flakey Pie Dough
Cherry Pie Filling
- 1 cup frozen cherries
- 1/2 cup cold water
- 1/4 cup sugar
- 3 Tablespoons cornstarch
- 1 teaspoon lemon juice
Instructions
-
Cook the cherry pie filling first. Add all ingredients in a small sauce pan and then place over medium high heat.
-
Once the mixture starts to bubble, lower the heat to low and let it cook for an extra two minutes.
-
Place the cherry pie filing in a bowl and cover the surface with plastic wrap. Make sure to stick the wrap directly over the filling to avoid skin from forming.
-
You can freeze the filing for 1 hour to chill it or refrigerate it for about 3 hours.
-
The filling can also be made up to 3 days in advance.
-
Preheat the oven to 375 degrees F.
-
Roll out your crust to the thickness of about 1/8th of an inch thick.
-
Use the cookie cutter of your choice and cut out the dough entirely.
-
Now you’ll need to divide the cut out shapes of dough into two. One part will be the base or bottom of the cherry pie while the other half will be the tops.
-
Top of the pie will need some kind of slit to release steam as the filling will be bubbling in the oven, so for that you can do this two ways.
-
Either cut out a smaller shape using a smaller cookie cutter in the top crusts, or use a knife to cut out slits on the dough.
-
Put a teaspoon and half of filing over the bottom crust.
-
Cover that with a top crust and seal the edges well using a fork.
-
Brush the tops with an egg and cream wash, and sprinkle coarse sugar for an extra crunch. This is definitely optional and if you want to use regular sugar, you also can do that.
-
Bake the sweet cherry pie for just 18-20 minutes until they’re golden crispy ready!
-
Allow them to cool for 10 minutes and enjoy!!
Recipe Video
Recipe Notes
CHERRY PIE TIPS
- Use a good crust for the pies, give this fool proof pie crust a try! Store bought crust works as well.
- Chill the crust while you prepare the filling.
- Frozen cherries are sweet and perfect for the cherry pie filing, however feel free to use fresh cherries if they’re sweet and in season.
- Make sure to use cold water for cooking the filling because thats the best way to dissolve the cornstarch without any lumps.
- Lemon juice keeps the cherries bright and red.
- Cook the filling until it starts to bubble and continue simmering it on low for just a couple of minutes.
- The filling needs to be chilled well before using it over the crust, otherwise it will melt the butter and ruin the pastry.
- To avoid a skin layer over the surface of the filling, make sure to stick the plastic wrap directly over the surface of the cherries before chilling them.
- Don’t over fill the cherry pies! It’s so tempting to load the pie curst with filling but that just simply means any excess will ooze out!
- Seal the edges of the mini cherry pies with a fork.
- An egg wash with cream is perfect for the cherry pies and the final sprinkle of sugar adds an extra crunch and sweetness to the crust.
- These pies will keep on the counter wrapped for up to 5 days.
- Otherwise, you can also freeze them baked for 6 months and defrost them over the counter.















Gotta love these cute little pies. They are so yummy!
Thanks for making Chichi!
These are adorable. And I love the tip to use lemon juice to keep the cherries bright red!
They are so delicious too!
These were so delicious. Loved how sweet and tart they are, plus so easy to make!
Thanks for making and sharing Danielle!
I love cherries so much. you’ve made me dream of the cherry season! Saving this recipe to make with my daughter at the weekend x
Hope you make them and enjoy them!
These little pies are so cute! Sometimes making a whole pie seems daunting but these minis look totally doable!
Hi Vicky, the mini pies are definitely easier and quicker to make!